Describe a surface before naming it
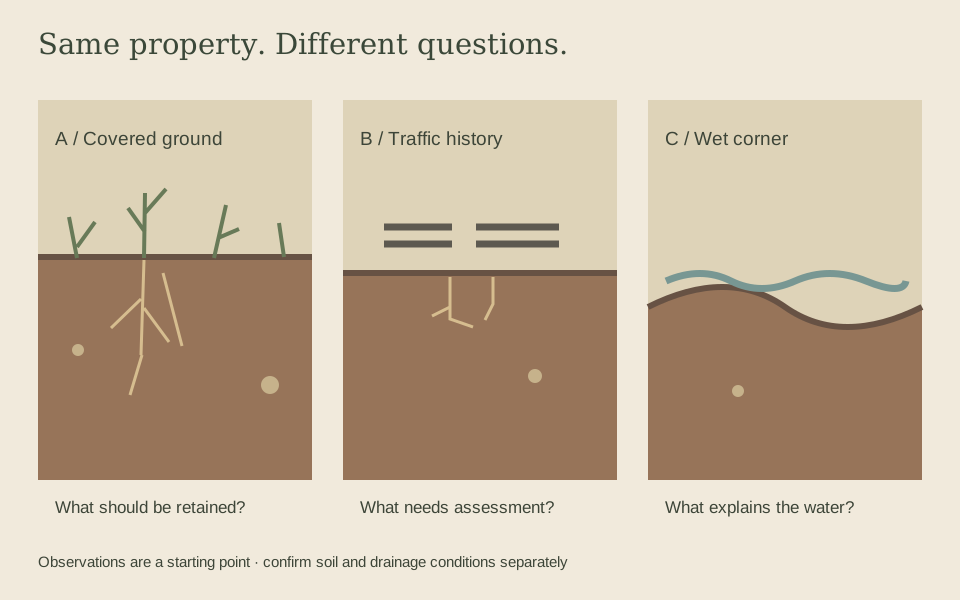
Two areas of brown ground can behave differently. One may carry a fine crust; another may show wheel tracks, coarse fragments or a thin layer of loose material. A soil brief becomes more useful when it describes those differences rather than treating the entire property as one uniform surface. Start with the areas you can safely observe without digging or disturbing protected ground. Record the existing cover, the recent use of the area and any movement of material that is visible.
Alberta's Managing for Special Conditions discusses how dense, compacted soil can restrict roots and access to water and nutrients. It also recommends avoiding field work when soil is wet and unnecessary repeated traffic. This supports keeping traffic history in the conversation. A photograph or firm-looking surface alone cannot establish the depth or cause of compaction.
Draw three observation zones
Label the most consistently covered area, the recently disturbed area and the area that behaves differently after rain. Use your own names rather than a diagnosis: shaded strip, machine route, low corner. For each zone, record approximate dimensions, what was there before and what you want it to become. Photograph a broad view and a closer surface view. Include something familiar for scale, but avoid placing tools or markers where utilities or other hazards are uncertain.
The Alberta Soil Information Viewer offers regional soil information. Use it to prepare questions about the surrounding landscape, then distinguish that background from conditions on the disturbed footprint. Imported fill, previous construction and local variation can make a property behave differently from a regional map. Keep the map reference and your site observations in separate parts of the brief.
Ask what needs to be confirmed
A compacted route, a persistent wet corner and a surface with little useful topsoil raise different questions. Ask who will assess soil condition, what information a sample should answer and whether drainage or grading needs separate review. Avoid adding amendments simply because they appear in a generic recipe. A specification should identify the actual material and the reason for using it, rather than treating seed, fertilizer and soil improvement as interchangeable ingredients.
Keep the construction sequence visible. If heavy traffic must return, record that before planning a finished surface. If the site is waiting for a drainage decision, identify which parts of the seeding plan depend on that decision. A proposed completion date is less useful than a sequence that explains when the ground is ready, how readiness is checked and who accepts the handoff.
Make a brief that can be reviewed
Close the notebook with a compact observation table: zone, visible condition, recent activity, intended use and question to resolve. Add photographs taken on different dates when they show a meaningful change. Do not compare them as though weather and lighting were identical. State where you have no evidence, including hidden layers, drainage connections and the identity of unfamiliar plants.
The aim is to give a qualified adviser a clear starting point. The planning tools can keep quantities and observation assumptions together, while the HAUSE request page lets you explain the decision you need help making. Preparation begins with understanding the ground you have, before selecting a treatment for the ground you want.
Put the note to work
Record the relevant observations, documents and unanswered questions in your project brief.
Prepare your request ↗